Build Your Own Wrestling Style Sand Bag
By Brian Ayers, CSCS
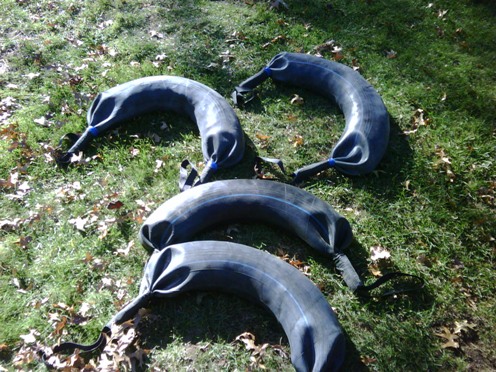
This style of sand bag has been used for years by wrestlers across the world. The handles and weight distribution offers a variety of unique exercises that challenge your core strength as well as your shoulder stability. Similar bags can cost upwards of $200 or more but it's not too hard to build your own training bag in less than an hour and for around $30 worth of materials.
Here's what you will need and where to get it:
Rubber tire inner tube (auto parts store or online)
Bag of playground sand (Home Depot/Lowes)
Bag of rubber mulch (Home Depot/Lowes)
Zip ties/wire ties (auto parts store)
Black duct tape (anywhere)
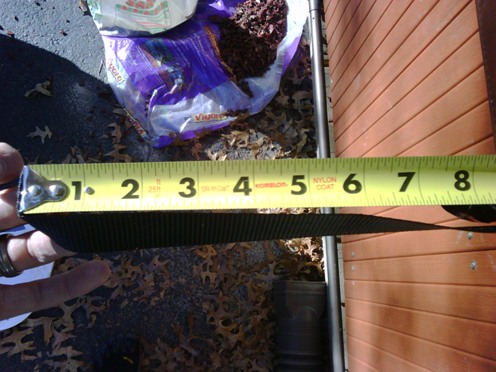
2 ft of 1.5 inch nylon strap (Home Depot/Lowes)
Hockey grip tape (sports store)
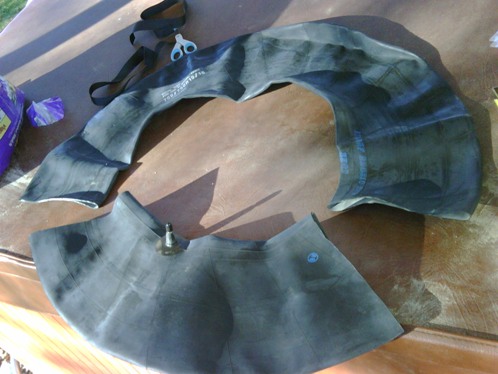
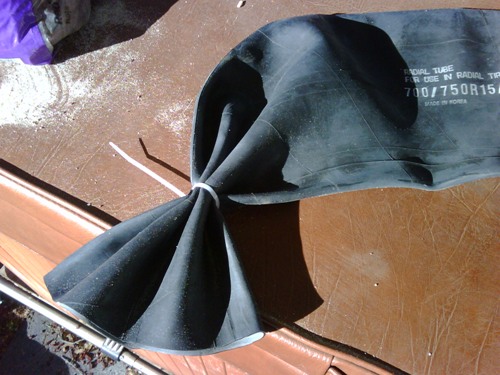
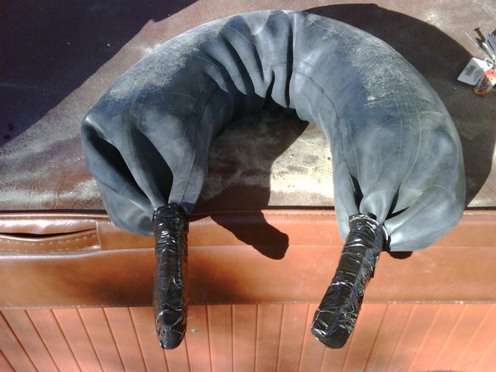
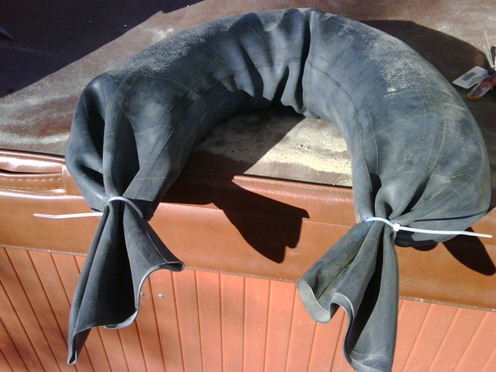
Start by cutting off approximately 1/3 of the inner tube. Be sure to include the valve stem in the portion that you remove. At this stage it's better to cut off too little than too much, you can always trim more off later. Bunch one end of the tube up by folding the edge over back and forth 5-6 times until you have a tight bunch. Then tie it off about 7 inches from the end with a zip tie . This will ultimately be one of the handles so be sure that the bundle is tight.
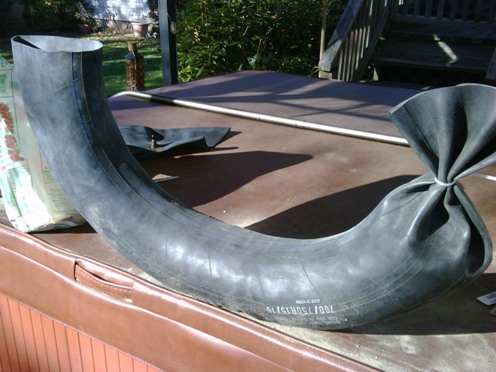
Proceed to pour the rubber mulch and sand into the open end of the tube. I use rubber mulch to add bulk and cushioning to the bags while the sand is more to add weight. Be sure to alternate between the two as you are filling, the goal being a nice uniform mixture throughout the entire bag. Pour in some mulch first, then add sand and shake the bag to mix them together.
The ratio of sand to mulch depends on how
heavy you want your bag to be:
Light - 15-18lbs = mostly rubber mulch
Medium - 28-30lbs = 60% mulch 40% sand
Heavy - 35+ mostly sand
Filling tips:
-Weigh the bag occasionally as you fill it to
see how close to your desired weight you
are and adjust your mixture accordingly.
-Do not over fill your bag. If you pack it too
tight it will feel rigid when you are using it.
Once you have reached your desired weight and size, bunch the open end in the same way as you did the first handle and tie it off with your zip tie. At this point you can get a feel for the weight and the bulk of the bag by doing a few exercises. If you need to make any adjustments to the fill, cut one of the zip ties and do so. After this point you will no longer be able to adjust the fill so be sure it's how you want it.
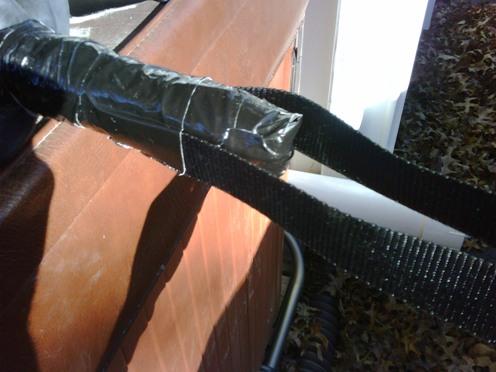
Next, trim both ends so they are equal in length as well as even at the ends. Also cut the extra slack off of the zip ties. Tear off an 8inch strip of duct tape and place it on where you can pick it up easily. Bundle up one of the handles as tight as you can and wrap the piece of tape around the middle to hold it. Then, starting just below the zip tie, wrap the entire handle with duct tape. Be sure to go around several times in the area where the zip tie is so that it is fully covered. Once the handle is completely wrapped, repeat the procedure for the other handle.
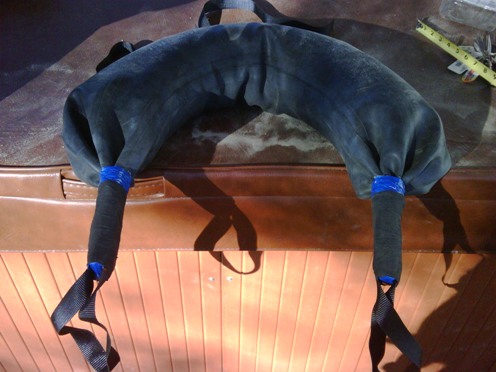
Now that the handles are wrapped you can add the nylon straps. Cut a piece of strap 22 inches in length and an 8 inch piece of duct tape. Line the strap up on the handle such that 8 inches of slack hangs off the end. The rest of the strap should be evenly positioned along the length of the handle. Wrap the piece of tape around the handle holding the straps in place. Then wrap the entire handle again with tape covering all of the strap so it is firmly secured. You should also rip a 4 inch piece of duct tape down the middle the long way and use the two strips to cover over the end of the handle so there is not exposed rubber.
Exercise Note: Never swing the bag by the straps. The straps are there for exercises like up right rows, curls or triceps extensions. See my Sand Bag Training Video for proper usage.
Once you have attached the straps on both
sides, the only thing left to do is to cover the
handles in a layer of grip tape. This will help to
insure that the bag will not slip from your hands
when you start to sweat. I use different color
duct tape to represent the different weight of the
bags: black for light, blue for medium & silver for
heavy. You could also use different color grip
tapes as well.
This home made version does not have the
sewn on handles that purchased bags have
and it will have a slightly different feel in
terms of comfort and cushioning due to it being
stuffed with sand and rubber mulch. However,
in terms of the actual exercise movements and
benefits, it is a low cost way to get the job done.
This article is property of Rugged Fitness and may not be reprinted or distributed without the written permission of the author. Requests for such permission can be sent to info@areyourugged.com. The content of this article is for informational purposes only and is not intended to replace or substitute the advice or treatment of a qualified medical professional. It is the responsibility of all users of this website to obtain proper medical clearance before engaging in an exercise program or any of the activities described in this website. Rugged Fitness is not responsible for any loss or damage suffered by the use or misuse of any information or content contained in this website.